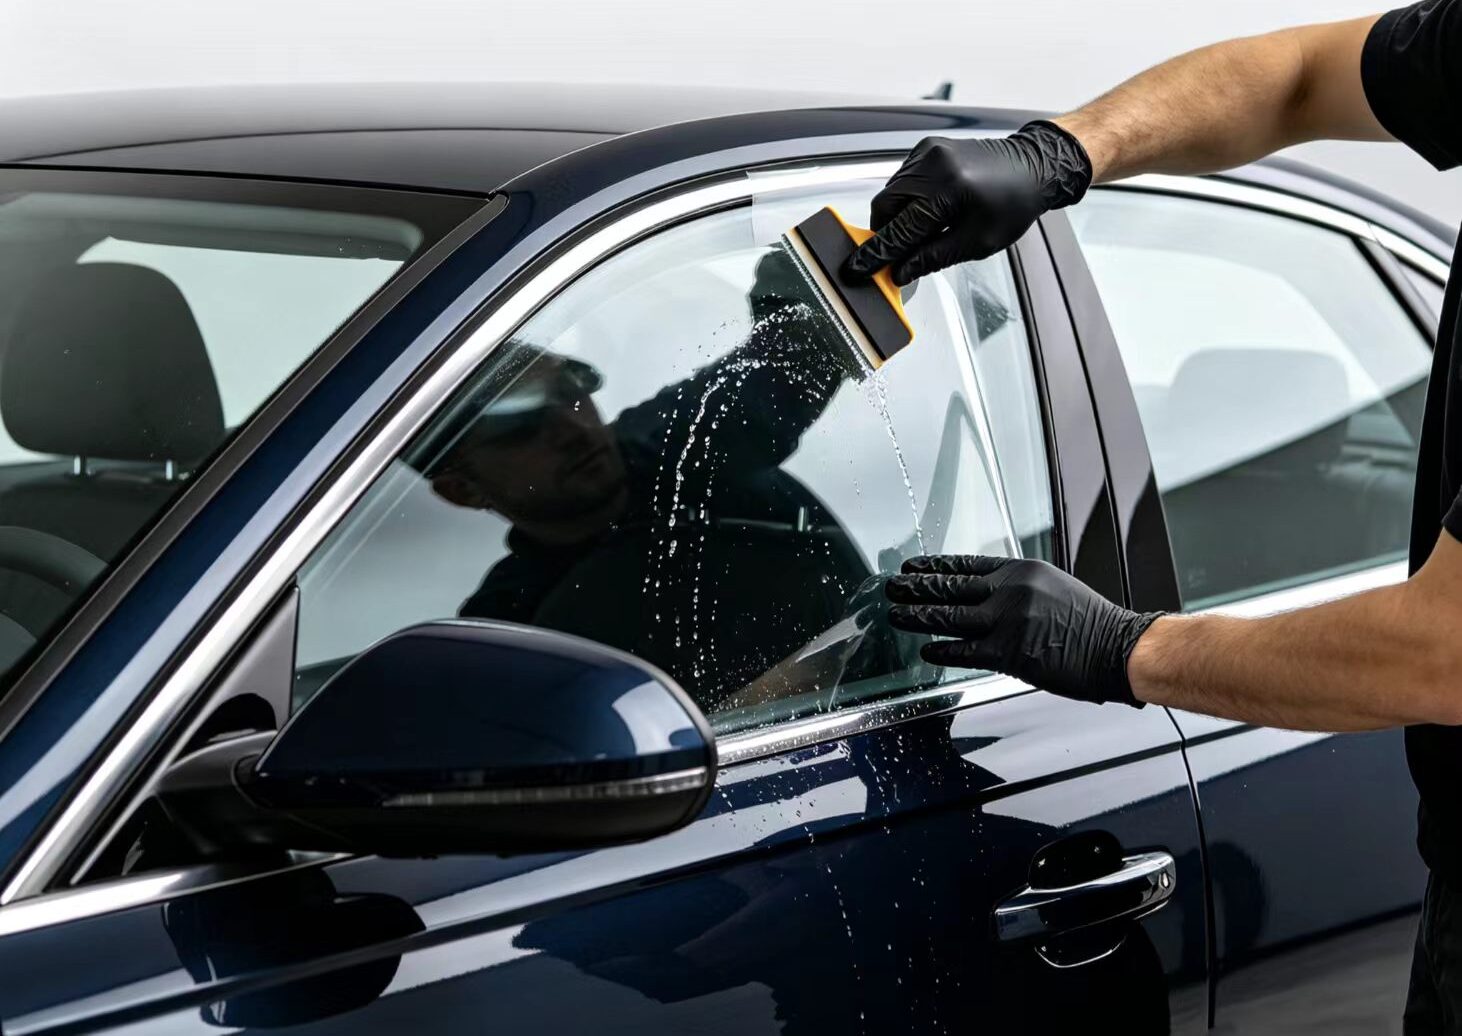
Installing window film on your car not only enhances its appearance but also effectively blocks UV rays, reduces interior heat, provides privacy, and minimizes glare. While this is a DIY project that requires patience and precision, mastering the right methods and tools can help you achieve results close to professional quality.
Essential Tool List
- Window film (cut to size for each window)
- Spray bottle (filled with soapy water solution: approximately ¼ teaspoon of baby shampoo or mild dish soap per quart of distilled water)
- Squeegee (hard squeegee with felt edge is better)
- Utility knife (sharp blades, ideally one per window)
- Heat gun or hair dryer
- Lint-free microfiber towels
- Plastic cleaning scraper
- Masking tape
Work Environment Requirements
- Choose a dust-free, wind-free indoor environment (such as a garage) to prevent dust from being trapped under the film
- Avoid working in direct sunlight; high temperatures will cause the solution to evaporate too quickly
I. Cleaning the Glass — The Critical Step That Determines Success or Failure
80% of window film failures are caused by inadequate cleaning. Any residual dust, grease, or old adhesive will be permanently trapped under the film, creating unfixable specks.
Exterior Cleaning (For Film Cutting)
- Roll the window fully up, spray soapy water solution on the outside glass and door frame
- Clean thoroughly with a squeegee, paying special attention to the gap between the glass and the seal — use a triangle squeegee wrapped with a towel to clean this area
- Use a razor blade to scrape off stubborn dirt or old adhesive residue from the glass surface
- Finally, wipe dry with a microfiber towel to ensure no particles remain on the surface
Interior Cleaning (Must Be Done Before Installation)
- After spraying soapy water, carefully scrape the entire interior glass surface with a squeegee
- Use a razor blade to thoroughly scrape the entire glass surface (⚠️ Except for the rear window! The rear window has defroster grid lines; using a razor blade will permanently damage them)
- For the rear window, use a mild abrasive pad with soapy water instead of a razor blade
- Lower the window by about 1/3 to clean the edge gaps and top edge of the window frame — these dead corners are prone to trapping dirt
- Protect door electronics: Switches, amplifiers, and other components may short-circuit if water enters; cover them with plastic sheeting before starting
💡 Pro Tip: Even if the glass looks clean to the naked eye, it is recommended to perform at least 3 additional cleaning passes to be safe.
II. Cutting the Film — Precision to the Millimeter
- Outer Surface Positioning: Spray soapy water on the cleaned exterior glass, apply the film to the outside surface (liner side facing out), and use the moisture to hold it in place
- Rough Cutting: Cut along the window contour, leaving approximately 1 inch (2.5 cm) of excess material around all edges
- Precision Cutting:
- Carefully trim along the glass edge, leaving about ¼ inch of extra material at the bottom edge to tuck into the window seal
- Lower the window by about 2 inches, then precisely cut along the top edge of the glass
- Slightly round the four corners to prevent sharp edges from lifting in the future
III. Heat Shrinking — Making a Flat Film Conform to Curved Glass
Most automotive glass is curved, but window film is flat. Without heat shrinking, “fingers” (wrinkles) will appear after installation.
- Place the rough-cut film back on the exterior glass, anchor it at the center with the squeegee
- Observe the wrinkles (i.e., “fingers”) appearing at the bottom edge of the glass — they indicate where shrinking is needed
- Using the heat gun, evenly heat the “finger” areas; the film will shrink and form small creases
- Immediately use the squeegee to flatten the creases, making the film conform tightly to the glass curve
- Process section by section along the glass edge until the entire film fully conforms to the curvature with no wrinkles
⚠️ Safety Warning: The heat gun reaches very high temperatures. Avoid overheating, which can melt the film or cause uneven shrinkage. Keep the nozzle moving; do not stay on one spot.
IV. Application — A Test of Patience and Skill
Separating the Liner
- Apply a piece of tape to each side of one corner of the film, press the two tape pieces together, and pull apart quickly to separate the liner corner
- Slowly peel off the liner while simultaneously spraying the exposed adhesive side with the spray bottle to prevent the adhesive from sticking to itself
Installing the Film
- Generously spray soapy water on the interior glass — this is essential for allowing the film to slide into position
- Holding the film, enter from the inside of the car with the adhesive side facing the glass. Align the top edge first, then apply from top to bottom
- Tuck the top edge of the film into the gap between the glass and the seal, leaving about ⅛ inch of clearance
- Tuck the bottom edge and side edges into the window frame seals
Squeegeeing Out Water and Air
- Squeegee from the center outward, using overlapping, steady pressure to push water and air bubbles toward the edges
- If “fingers” appear (due to insufficient heat shrinking), you can apply localized heat and squeegee them flat (⚠️ Side wrinkles should be pushed toward the top or bottom before heating — never heat and shrink directly on the side edge)
- Use a triangle squeegee wrapped with a towel to firmly press the film edges along the window frame and bottom
V. Curing and Post-Installation Care
Curing Period Precautions
- Do not roll the windows up or down for at least 3–5 days (some sources recommend 2–3 days; adjust based on ambient temperature and humidity)
- During this period, do not wash or touch the film surface, nor use suction cups
- Hazy marks or tiny bubbles appearing initially are normal; they will evaporate and disappear naturally
Proper Cleaning Methods
After curing is complete, follow these cleaning guidelines:
- Use mild soapy water and a microfiber towel
- Choose ammonia-free glass cleaning products (such as Invisible Glass)
- Avoid brushes, rough sponges, or cleaners containing ammonia or vinegar
VI. Installation Differences for Fixed Windows (e.g., Quarter Glass)
Fixed windows don’t roll down, simplifying the process but requiring special attention:
- No need to lower the window when cutting — cut directly along the glass edge from the outside
- Cut along the inside edge of the “dot matrix border” — the film cannot fully adhere to the dot matrix area, and a slight hazy white effect is normal
- Heat shrinking is not required for installation; you can directly position and apply the film on the interior
VII. Common Beginner Mistakes
| Mistake | Consequence |
|---|---|
| Working in a dirty or windy environment | Dust particles trapped under the film, permanently unfixable |
| Cutting the film too small | Gaps at the glass edges, compromising appearance and durability |
| Insufficient squeegeeing | Air bubbles remain and cannot be eliminated after curing |
| Touching the adhesive side with fingers | Fingerprint marks permanently trapped under the film |
| Rolling windows during the curing period | Edges lift, film shifts — requiring rework |